The loft in your house is the perfect place for storing light-weight items. After installing a well-made loft floor, you can use the space to hold various items such as holiday decorations and other items that you don’t use on a daily basis. Unless your home was built with the ability to convert your loft space into a living space, keep in mind that your loft will only be able to hold these light-weight items.
Before you begin to install flooring in your loft, you should know how to screw down a loft board.
Installing flooring boards in your loft is much different than when installing flooring on your home’s floor. Without the knowledge of how to screw down loft boards properly, you could find yourself with costly issues down the road.
Save yourself the headache and learn how to screw down loft boards like a professional today! Continue reading below for everything you need to know.
1. Gather Your Supplies
Your first step should be to gather all of the necessary supplies. Besides your loft boards and your screws, here’s what you need to grab.
- electric screwdriver
- hammer
- jigsaw and workbench
- drill
- tape measurer
- pencil
- disposable overalls
- dust mask
- gloves
It’s beneficial to have all of these items ready to use before beginning the process. This saves you time from having to go back and forth finding the items after starting.
2. Prepare for Safety
Remember, you’re going to be working above the ground in the loft. You need to prepare for your safety before starting the job. Some of the items listed above are for safety purposes, so be sure to grab all of them and don’t skip over anything.
You also don’t want to rely on your balance while up in the loft working. To ensure your safety while getting the job done, place a piece of a strong board across the ceiling joists where you can stand, sit, kneel, and work.
3. Make Your Measurements
Measuring the loft is the next step, which is essential when shopping for boards to install in the loft. When taking your measurements, you’ll want to multiply the loft’s width by the length. Take these measurements in meters, which makes the board-buying process easier.
When heading out to buy your boards, keep in mind that the larger loft boards will be cheaper. Check all board edges for signs of damage. The edges and tongues of the boards are what allow the boards to fit into one another.
If there’s damage to them, it’ll create problems for you during the installation process.
4. Plan for a Raised Loft Floor
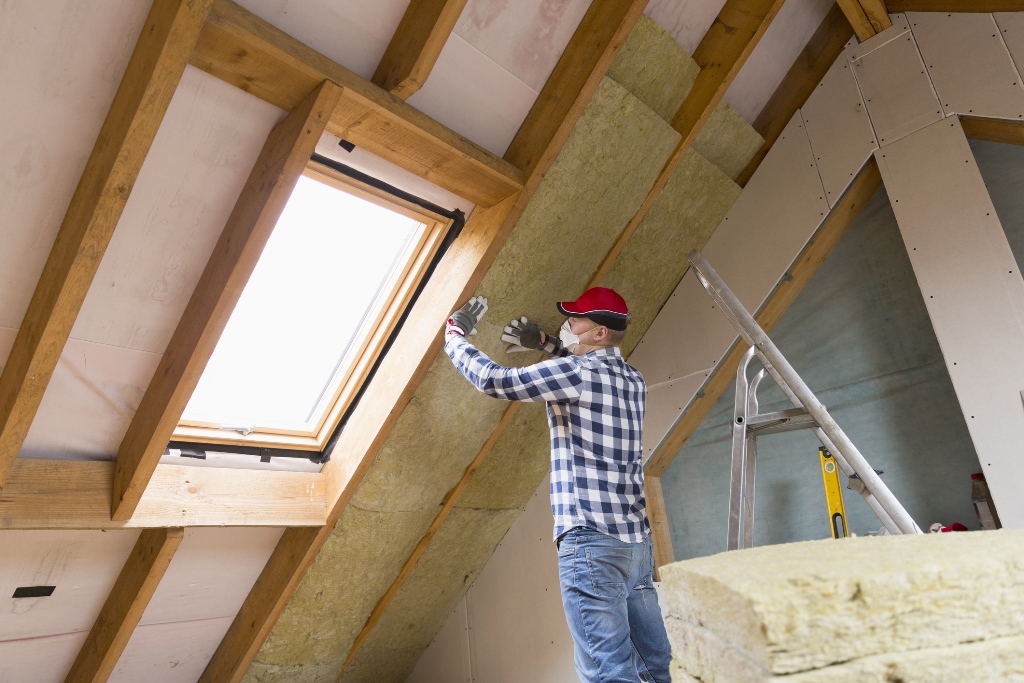
Screwing the boards directly onto the joist in your loft should be avoided. If you screw them onto the joist, you’re forcing the insulation to be squished down. This can cause your home to lose more cool or warm air than normal.
Doing so can also cause a buildup of moisture in your loft, which then creates mold, mildew, and other problems. To avoid all of these possible issues, it’s best to plan for a raised loft floor. When you install the boards raised above the joist, you allow air to flow as needed.
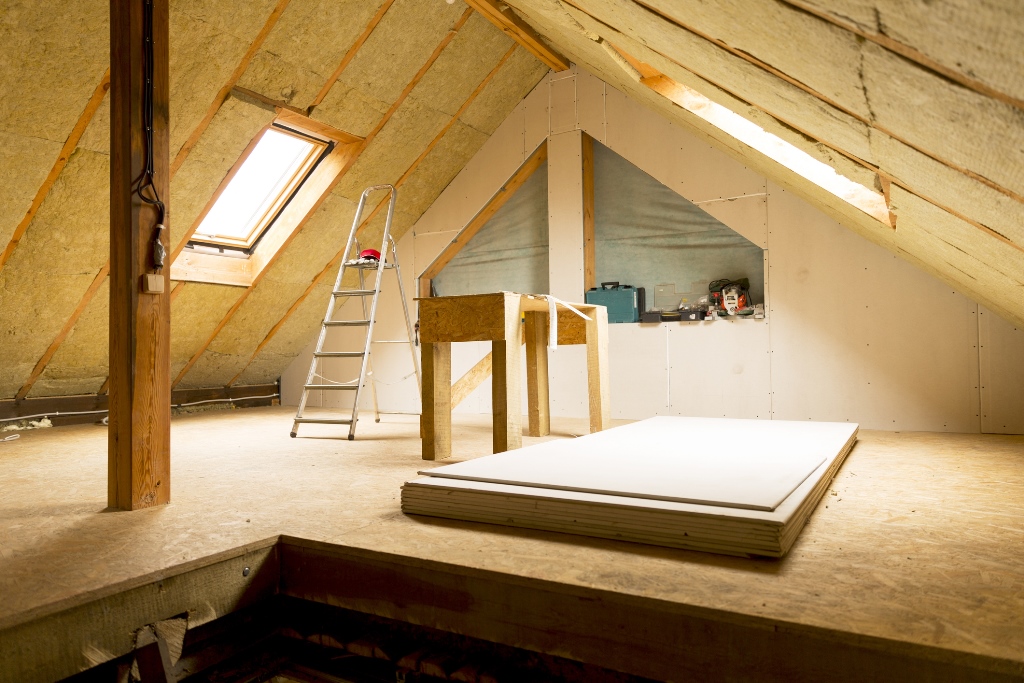
5. Install Flooring on a Subframe
To create this gap between the ceiling joist and the boards, you need to install flooring on a subframe. You can purchase a loft boarding system such as a loftzone, which keeps boards off of the joist and protects your home’s insulation, wires, cables piping, and more.
The boards for your loft space are installed on the subframe and made sturdy for holding all storage items.
6. Save Space Around the Edges
When installing the boards, be sure to save space around the edges of your ceiling. You don’t want to install them directly up against the ceiling as you would when laying flooring down on your floors up against your walls.
You need to leave space around the edges of the boards and the ceiling to permit decent airflow.
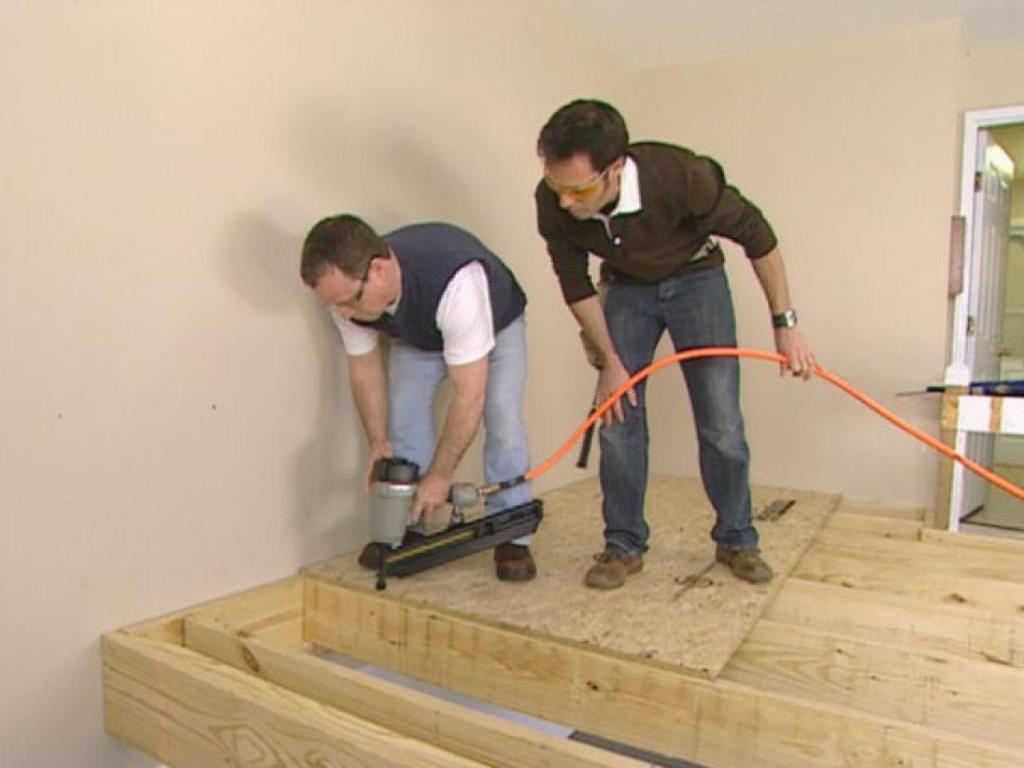
7. Screw Boards Down at 90° to the Joists
When it’s time to screw the boards down, be sure to lay the longer sides of the boards down at a 90° angle to the joists. The short sides of the boards will need to end directly on top of a ceiling joist.
Remember to screw the boards down rather than hammer them. When hammering, you risk the chance of weakening the joist and possibly cracking them. Be sure to have the screws counter-sunk into the boards, which stops the boards from lifting in the future.
8. Cut Boards to End at Middle of Frame’s Cross Beams
Because all boards need to end in the middle of a cross beam, you may need to cut a few boards. Use your saw to cut the boards as needed to ensure that each board ends directly above a cross beam.
Failure to do so could lead to your boards sagging due to them being weak not having the cross beam to support it.
Learn How to Install a Loft Board Today!
Your home’s loft is a wonderful storage space that should be taken advantage of. The only way to ensure that you can get the most out of your loft’s space is to learn how to install a loft board the correct way. Use this guide above to help you prepare and get through the process with ease.
For more topics similar to this one, be sure to check back with our page on a daily basis!