Starting a scale model can feel wonderfully simple when you first open the box. The pieces are neatly arranged, the instructions are waiting, and the finished picture on the front makes the whole thing look very achievable. Then you realise you’ll need more than the kit itself if you want the final result to look clean, detailed and satisfying.
That doesn’t mean you need to buy half a hobby store before building your first model, but a few carefully chosen tools and materials can make the process much easier. Good cutters, sanding sticks, glue, tweezers and quality model paints can turn a basic build into something you’re genuinely proud to display.
Start with the tools that make assembly easier
The first thing worth buying is a proper pair of sprue cutters. It might be tempting to twist parts off the plastic frame by hand, but that usually leaves rough marks or damaged edges that need extra cleanup. A sharp cutter lets you remove pieces more neatly, which saves time and helps everything fit together better.
A hobby knife is useful too, especially for trimming tiny bits of leftover plastic, though it’s worth using it slowly and carefully rather than trying to rush. Add a few sanding sticks or fine files, and you’ll be able to smooth seams, tidy edges and prepare pieces before painting.
Tweezers may not seem essential at first, but once you’re trying to place a tiny mirror, antenna or cockpit detail, you’ll be glad you have them nearby.
Choose the right glue for the job
Not all glue behaves the same way, and using the wrong type can make a model messy very quickly. Plastic cement is usually the go-to for standard plastic kits because it slightly melts the surfaces together, creating a strong bond once it sets.
Super glue can be useful for resin, metal parts or quick fixes, but it can also fog clear pieces or grab faster than expected. For windows, canopies and clear parts, a specialised clear-parts glue is often a safer choice because it dries more neatly and reduces the risk of cloudy marks.
The main trick is to use less glue than you think you need. A small, controlled amount usually gives a cleaner result than flooding the joint and hoping for the best.
Paint changes everything
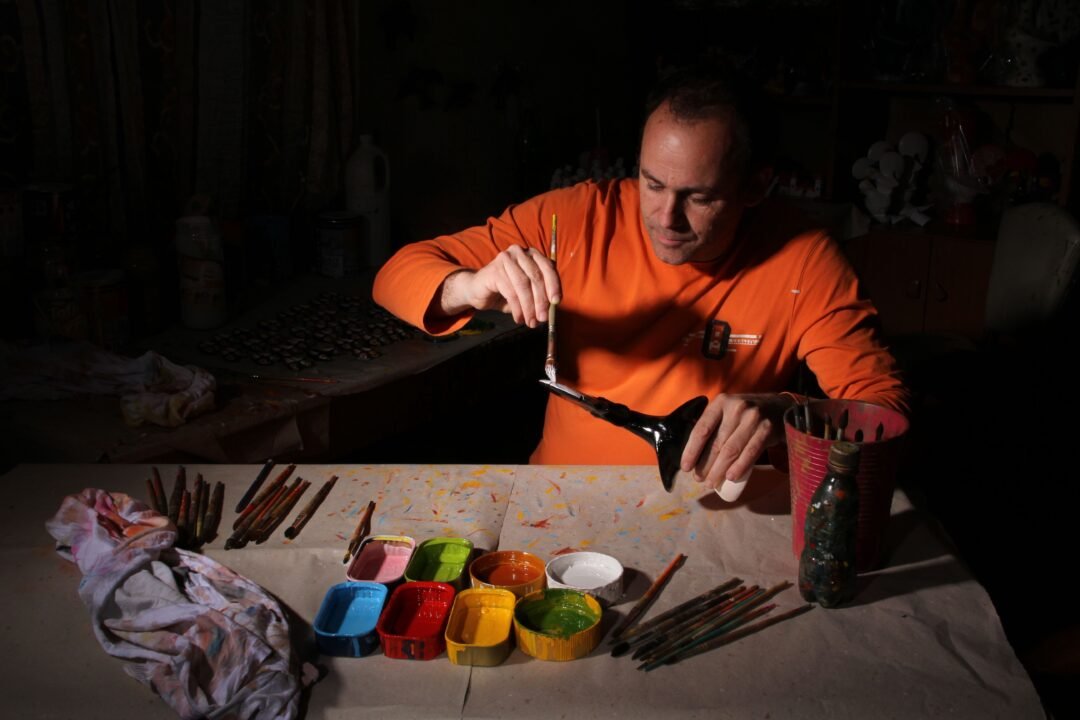
Paint is where a model really starts to come alive. Even a well-assembled kit can look flat without colour, shading and a few careful details. Beginners often start with brushes, and that’s perfectly fine, especially for smaller parts, interiors, figures and touch-ups.
Spray cans can help create smoother finishes on larger areas, while airbrushing offers more control later on if you decide to take the hobby further. You don’t need to master every technique immediately. It’s better to learn how paints behave, how thin coats work, and why patience between layers matters.
Primer is also worth considering. It helps paint stick properly and makes flaws easier to spot before the final colour goes on.
Don’t overlook the finishing touches
Once the main build is done, small details can lift the whole model. Panel line washes, decals, weathering powders and clear coats can add realism, depth and protection. These steps might sound advanced, but even simple weathering can make a tank look heavier, a plane look used, or a car look more polished.
Build your kit, not someone else’s
It’s easy to compare your first model with the incredible builds people share online, but that can take the fun out of learning. Every modeller starts somewhere, and each kit teaches you something new about cutting, fitting, painting and finishing.
The best beginner setup is one that helps you enjoy the process without overwhelming you. Start with the essentials, take your time, and let each build be a little better than the last.